Traditional basket with a handle: evaluation

Well, where to start with this evaluation? Perhaps from the beginning, the idea, the quest for inspiration.

Ultimately, I spent far too long faffing around trying to decide what to make that I left myself little time to actually experiment and try out the techniques needed for making it.

Don’t get me wrong, I had a great time, and the research trips were fantastic. They have widened my appreciation of baskets, as well as having had a great time out with my mum and son.

However, I got to the stage of complete overwhelm and then it turned out the basket I had been seeking was right under my nose at my mum’s house. It was only that I took her to Cardiff at the beginning of March for my last basket research trip that she mentioned she still had it.

By pure coincidence, I had been messing around making some little extra baskets over March that utilised some of the techniques I’d need for this basket, so that at least was something and meant I wasn’t totally behind.

When doing the design development work for making this basket, I thought that it would be challenging but manageable.

I mean, Gill Jones our tutor showed us how to make an oval base in the March class. I had practiced doing a four-rod wale to tie in the side stakes and create a little foot after seeing it on a basket at Acton Scott. I’ve done so much French randing that I should be getting wise to its tricksy ways by now. I’ve done 3 behind 1 borders several times and the handle looked achievable even though I haven’t actually done it.

But honestly, I struggled! Oh, how I struggled.

Trying to get any kind of shaping going on with French randing is so hard. It wanted to slide up the basket, not sit down at the bottom and create a seeming impossible uplift. Even with a three-rod wale I think it would have been challenging.

Making an oval base take on a square shape meant absolutely every stroke had to be purposeful, there was no relaxing and whacking the weave down. It had to be intentional.

Despite feeling like I was getting up to stand back and check the shape all the time, I clearly needed to stand up every row of randing laid.

Then, to make my life that much harder, I had decided to use beautiful different colours of willow. It has to be said, at least they were worth it, but the key lesson here is that they are all very different thicknesses, even if they are all very similar lengths.

I now know that if you have a fat rod, you need to follow that rod with another fat rod immediately to counteract each other. I didn’t know this at the time and so I had some solo fat rods going round that did bad things to some of the uprights and then it’s really hard to pull it back into shape when the next few rods are little skinny minis.

Then the border, well, me and borders aren’t on hugely friendly terms. We’re still getting to know each other. It wasn’t my worst border, but I certainly wasn’t the best. I must note that even the incredible craftsperson that made the original had a few kinks in it here and there, so that made me feel better.

I decided that this body wasn’t really good enough and decided I would be able to make another one the following week as I still had time. So, I did. I sought some advice on a willow Facebook group, Level 3 C&G tutor Alisha kindly gave some advice about curving the base sticks up around a rolling pin. I was set; it was going to be glorious...

Attempt 2

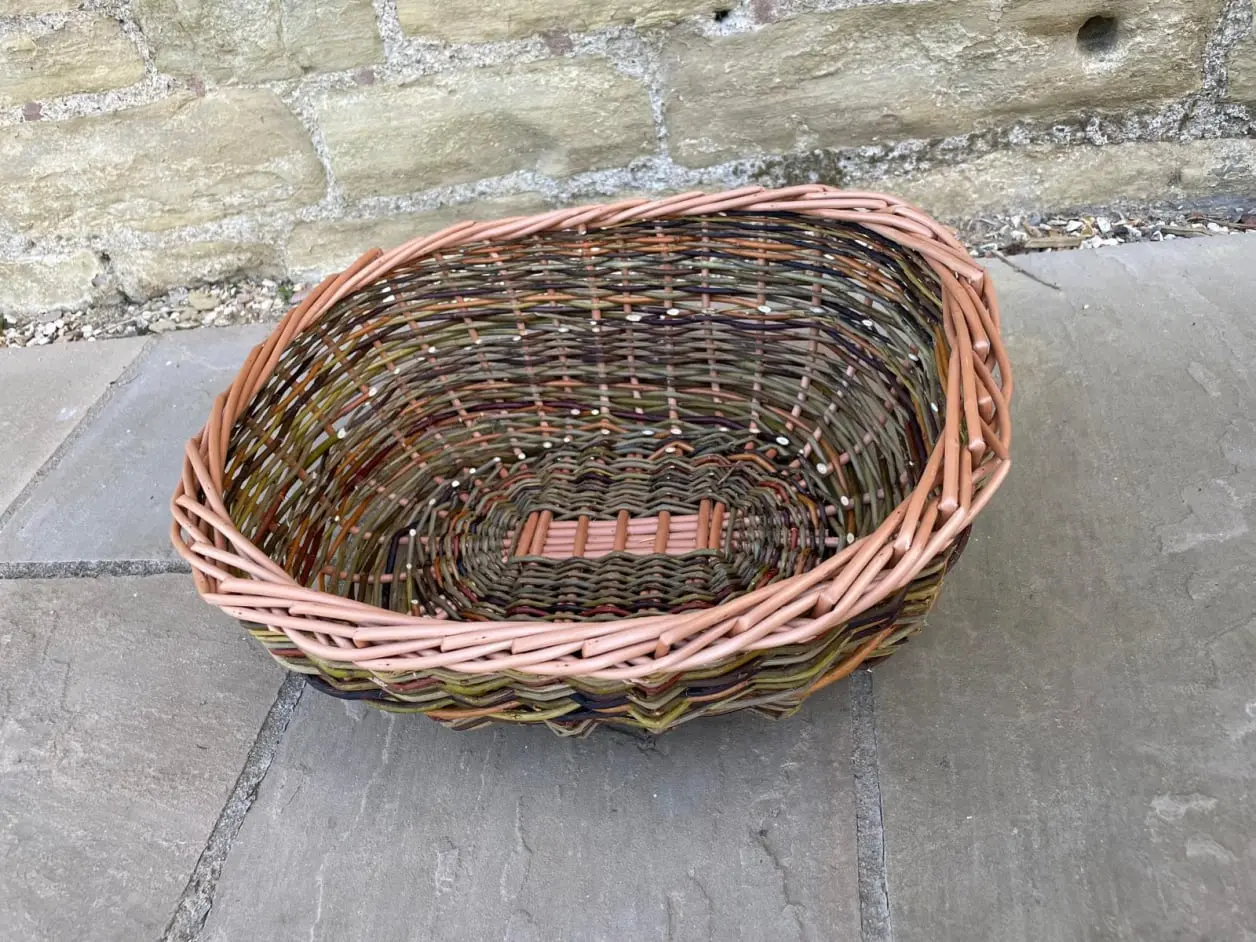
Second attempt was too wide and too squat, although the weave was tighter at the bottom.

Attempt 1

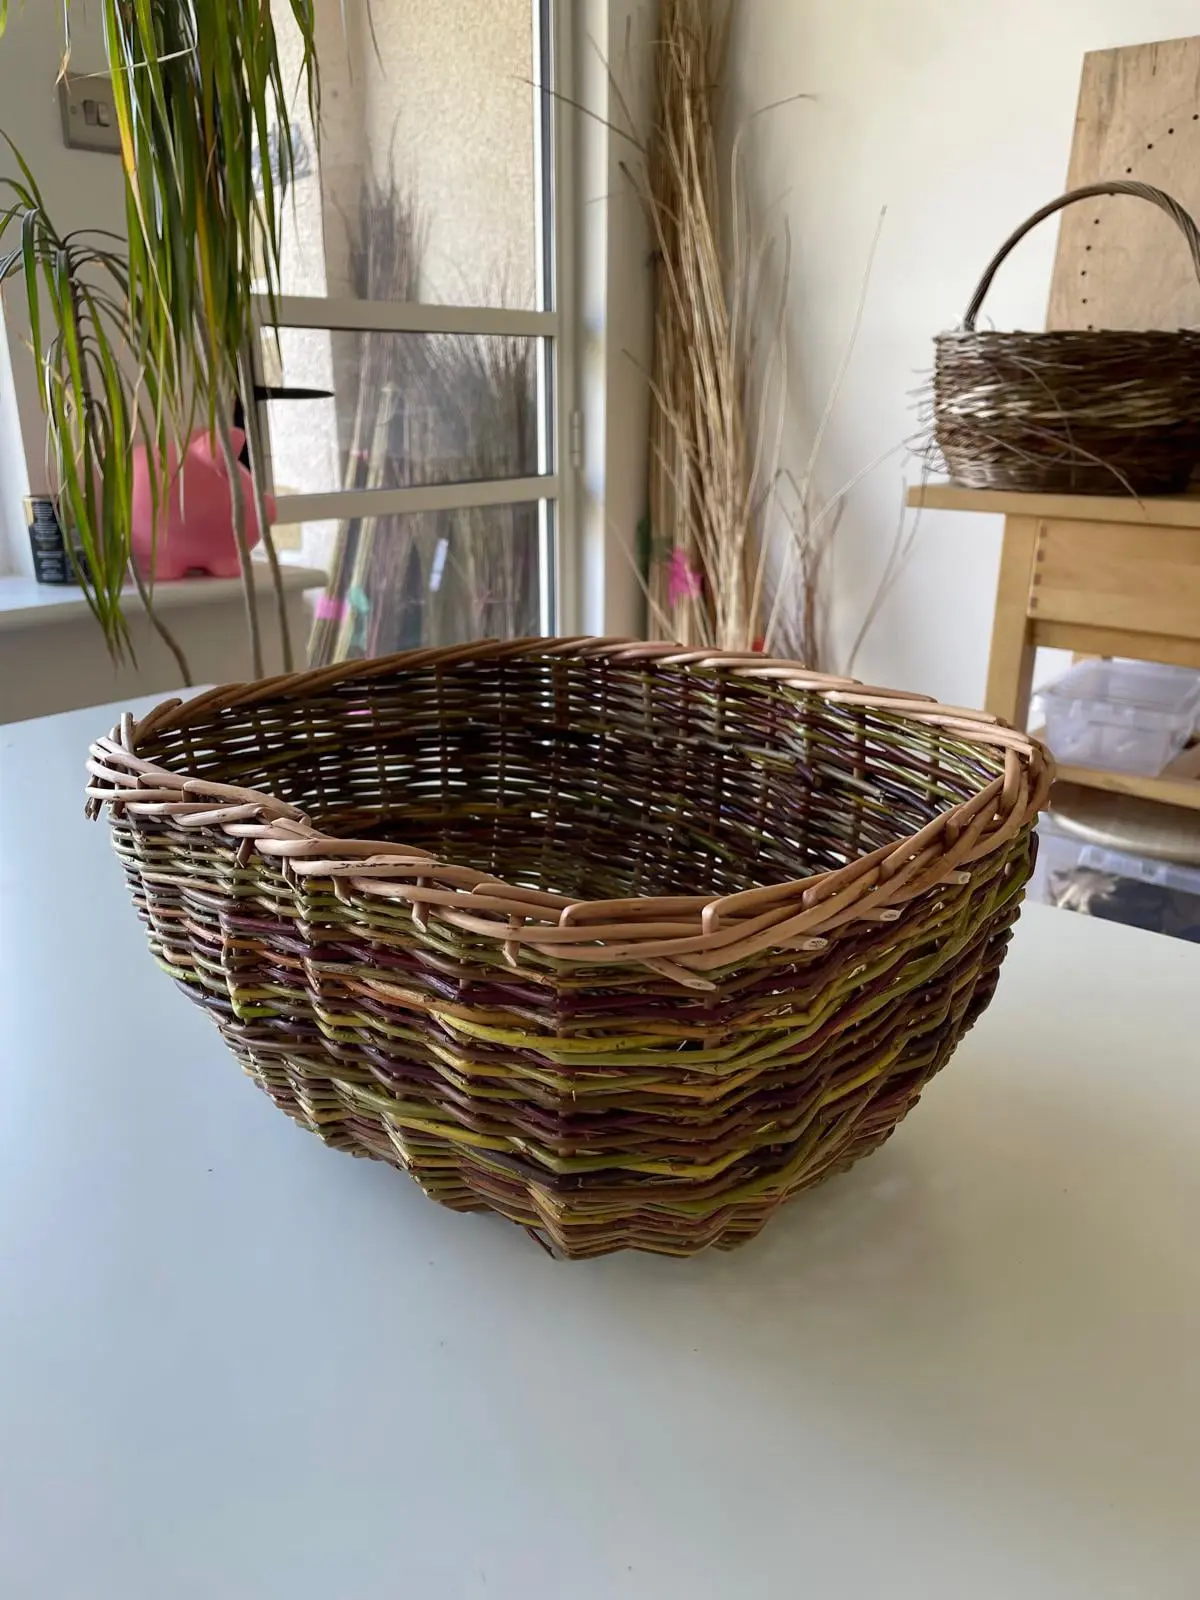
Attempt one had a better shape but a looser weave.

Onward!

Wednesday the following week, I’d got all my new material prepped and sorted, had a whole school day to do it and got cracking.
Sadly, it was worse than the first one, so I ended up putting the handle on the first one anyway. I may try and put side handles on the second one if I have time. But back to the handle…

I needed to finish the handle before the husband went away working for the week, leaving little opportunity to weave. I had one Sunday morning. It just unravelled.

Despite soaking some willow handle sticks with the best of intentions, I forgot to put them back in the bath after I’d washed the child. As a result, they just kinked and snapped and nearly made me weep a little.

Not to be deterred, I had a restorative cup of coffee and went raiding in the garden. Cursing the husband slightly for having done a thorough job of spring pruning every single tree and bush, I finally spotted something up a sweet chestnut tree that might be suitable.
Praise to be whomever the god or goddess is of basketmaking, the sweet chestnut played ball and helpfully shaped up into a nice handle.

However, when I uncovered the buff willow that had been left to chill in dampish towels, I had over watered it, so it had gone slimy and, as it turned out, quite prone to splitting and looking like it had been cranked.

By this point I didn’t have the will, nor the required gumption, to start imitating the square shaped handle on the original.
No, I am not ashamed to say that I thought, sod it, and made a curved handle using the same techniques.

Given the Unit is called Make a basket with handles using traditional techniques, I felt that any handle was advantageous over no handle due to material – or my spirit – breaking.

Doing a curved version of the original was in itself enough for me to invent some new expletives.

I couldn’t find willow that was still flexible enough to weave in the sides (made the body of the basket on Wednesday and finished handle on Sunday but everything had dried out or gone slimy – it wasn’t a good Sunday). Splitting the buff to make the wrap used about three times the amount that actually went on the handle.

But! It is done. I have a basket to hand in. I’ve learnt a lot from it and had to really dig deep to keep going and finish it because the handle nearly drove me over the edge.

Although it’s not really of a standard I was hoping it would be, I am pleased that it does at least resemble the original in shape and style and I do like the colours.